


A dull edge on a zero turn mower blade is the most common reason for a ragged cut, but the sharpening process requires specific safety protocols to prevent injury. The direct answer to how to sharpen these blades involves removing the blade safely, balancing it, and using a file or grinder to restore the factory angle without altering the geometry.
Many homeowners discover the need for this maintenance after noticing uneven grass lines or increased engine strain during mowing. Unlike walk-behind mowers, zero-turn decks often have tighter clearances, making proper blade removal and reinstallation critical. This guide outlines the practical steps for restoring edge sharpness while maintaining the blade’s balance and structural integrity. For context on general blade types, you might also review our mower blade setup tools to ensure you have the right hardware for the job.

Sharpening a zero-turn mower blade is a straightforward mechanical task if you respect the safety constraints of the machine. The primary goal is to restore the cutting edge to its original factory specification, which usually involves a specific bevel angle on both sides of the blade.
Because zero-turn mowers operate at high RPMs, any imbalance introduced during sharpening can cause significant vibration, leading to premature bearing failure or deck damage. The process requires disconnecting the power source, removing the blade, and using appropriate abrasives to remove material evenly from the edge.
Before beginning, it is crucial to identify the type of blade installed on your specific deck. Some zero-turn mowers use standard flat blades, while others may use mulching or high-lift designs. The sharpening technique remains similar, but the attention to the edge geometry must match the blade’s intended function. A blade designed for mulching has a different edge profile than one designed for bagging or side discharge. Ensuring you are restoring the correct profile is as important as the sharpening action itself.
| Tool | Purpose | Safety Note |
|---|---|---|
| Socket Wrench | Remove blade bolt | Disconnect spark plug first |
| Clamp or Vise | Secure blade | Protect blade face from damage |
| File or Grinder | Sharpen edge | Wear eye protection |
| Balance Stick | Check balance | Verify before reinstallation |
The first step in the sharpening process is ensuring the mower is in a safe state for maintenance. This involves parking the mower on a flat, stable surface and engaging the parking brake if equipped. The most critical safety step is disconnecting the spark plug wire.
This prevents the engine from accidentally starting while your hands are near the blade or under the deck. Many zero-turn mowers have the battery and controls located close to the operator’s seat, but the spark plug is always the definitive power cut. Once disconnected, you can safely proceed to remove the blade without the risk of sudden rotation.
- Disconnect the spark plug wire to prevent accidental startup
- Place wood blocks under the deck to secure the mower
- Remove the blade bolt and washer assembly carefully
- Mark the blade orientation before removal for reinstallation
- Clean the spindle and blade mounting surface of debris
Removing the blade from a zero-turn deck can be challenging due to the tight space under the chassis. Often, the blade is held in place by a hex bolt or a spindle nut. You may need to support the blade with a block of wood as you loosen the fastener, as the blade can weigh several pounds and may fall once the tension is released.
It is important to note the orientation of the blade, as some zero-turn decks have directional blades that must be installed in a specific direction relative to the engine rotation. If the blade is not installed correctly, the mower will not cut properly and may throw debris in unintended directions.
Preparing the Blade for Sharpening
Once the blade is removed, inspect it for any cracks, bends, or significant wear. A blade that is bent or cracked should be replaced rather than sharpened, as attempting to repair it can lead to catastrophic failure at high speeds. Check the balance of the blade by placing it on a balancing stick or a flat, horizontal surface.
If the blade tips to one side, it is out of balance. While minor imbalance can sometimes be corrected by removing a small amount of material from the heavy side, severe imbalance indicates that the blade is worn unevenly and may need replacement. A balanced blade is essential for a smooth-running mower and protects the spindle bearings from excess load.
Before sharpening, clean the blade thoroughly to remove grass clippings, dirt, and rust. This gives you a clear view of the edge and allows you to see any damage that might not be visible under debris. Identify the cutting edge, which is typically the angled portion at the tip of the blade.
On many zero-turn mower blades, the cutting edge is on the top surface, but this can vary by manufacturer. Refer to the mower’s manual if you are unsure about the specific blade design. Understanding the blade geometry helps you maintain the correct angle during the sharpening process, ensuring the blade cuts efficiently without putting excessive stress on the engine.
Sharpening Techniques and Tools
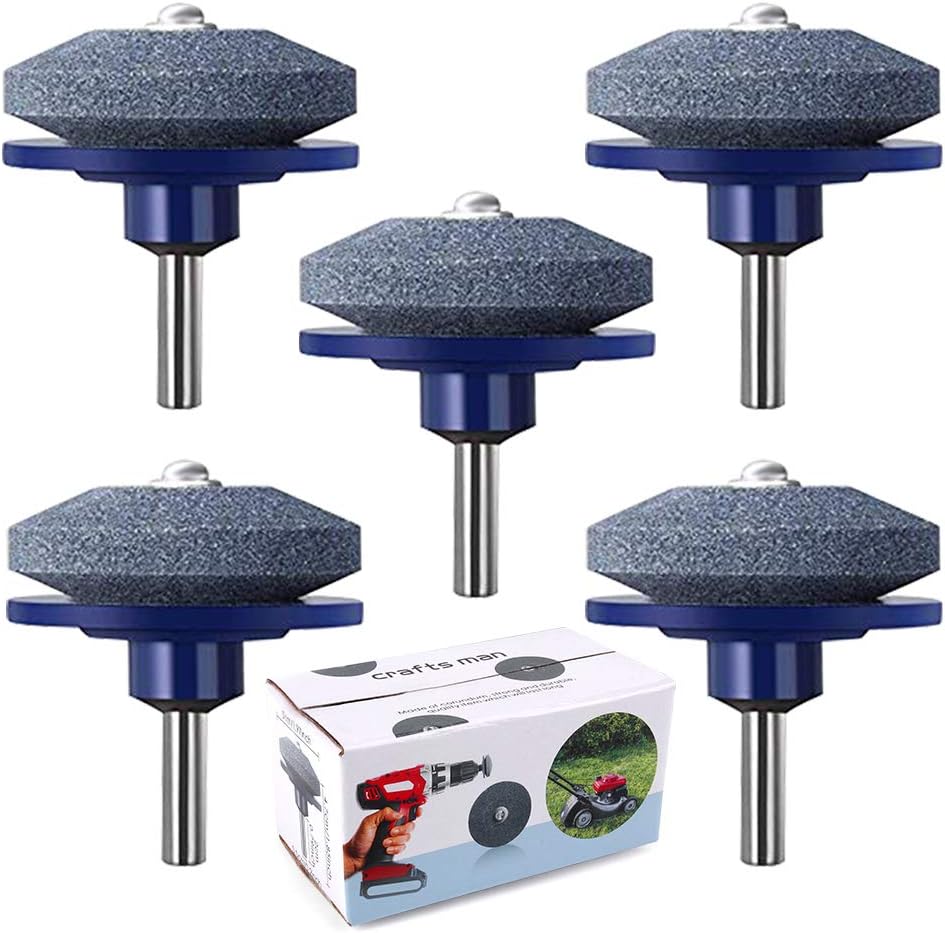
You can sharpen a mower blade using a hand file, a bench grinder, or a dedicated blade sharpener. A hand file is the safest option for most users, as it allows for precise control over the material removal. To use a file, secure the blade in a vise with a piece of wood between the jaws to protect the metal. File the edge at a consistent angle, moving the file in one direction only.
Pulling the file back and forth can create burrs and ruin the edge. Maintain the same angle on both sides of the blade to ensure it remains balanced. A bench grinder is faster but requires more skill to avoid overheating the metal, which can temper the steel and make the edge brittle. If using a grinder, keep the blade moving and dip it in water to prevent heat buildup.
The goal is to remove a small amount of material from the edge to restore the sharpness. You do not need to remove a large amount of metal; a light pass is usually sufficient to restore a clean cut. After sharpening, run your finger lightly across the edge (with extreme caution) to check for a burr. A sharp edge will feel smooth and uniform.
If you feel a rough spot, continue sharpening until the burr is gone. It is important to sharpen both sides of the blade evenly. If one side is sharper than the other, the blade will be out of balance and will vibrate excessively when installed. This vibration can loosen the blade bolt and cause damage to the deck and engine mounts.
Reinstalling the Blade Safely
Once the blade is sharpened and balanced, it is ready for reinstallation.
- Clean the spindle and the blade mounting surface again to ensure there is no debris that could affect the fit.
- Install the blade in the correct orientation, ensuring it is seated properly on the spindle.
- Use the original bolt and washer, or a high-quality replacement, to secure the blade.
- Tighten the bolt to the manufacturer’s specified torque value if available.
- If you do not have a torque wrench, tighten the bolt securely by hand and then use a wrench to ensure it is snug.
- Do not overtighten the bolt, as this can strip the threads in the spindle or warp the blade.
- A properly tightened blade bolt is crucial for safety, as a loose blade can fly off during operation, causing serious injury or property damage.
After reinstalling the blade, reconnect the spark plug wire. Start the mower and let it idle for a few minutes to check for any unusual vibrations or noises. If the mower vibrates excessively, shut it off immediately and recheck the blade balance and bolt tightness. Excessive vibration is a sign that the blade is out of balance or not installed correctly. It is also a good idea to take a short test mow in a small area to check the cutting performance.
A properly sharpened blade will cut the grass cleanly and efficiently, leaving a smooth, even finish. If the cut is still ragged, the blade may need further sharpening or replacement. For more information on maintaining your mower’s performance, see our guide on lawn mower blade interchangeability to ensure you are using the correct parts for your specific model.
Maintenance and Storage Tips
Regular sharpening is an important part of maintaining a zero-turn mower. A dull blade not only cuts poorly but also puts more strain on the engine, reducing fuel efficiency and increasing wear on the drivetrain. It is recommended to sharpen the blade at least once per season, or more frequently if you mow a large or difficult area.
Store the blade in a dry place to prevent rust. You can apply a light coat of oil to the blade before storage to protect it from moisture. Keeping the blade clean and dry will extend its life and ensure it is ready for use when the mowing season begins. Proper storage also helps prevent accidental damage to the cutting edge.
Finally, always follow the safety guidelines provided in your mower’s manual. Sharpening a mower blade involves working with sharp tools and heavy metal parts, so safety should always be the top priority. Wear appropriate eye protection and gloves when handling the blade and using sharpening tools. By following these steps, you can maintain a sharp, balanced blade that ensures a clean cut and prolongs the life of your zero-turn mower.


Write Your Review
No reviews yet. Be the first to share your experience!