


Changing the blade on a Shakespeare brush cutter requires securing the shaft, removing the old hardware, and installing the new blade with the correct orientation. Many homeowners find that the process is straightforward once the specific adapter and bolt pattern are identified. The key is ensuring the new blade matches the arbor size and the maximum RPM rating of your machine to prevent damage during operation.
Before starting, verify that the engine is off and the spark plug is disconnected to prevent accidental starts. This safety step is critical because the blade can spin if the engine is triggered. You will need a wrench set, the specific adapter kit for your blade type, and safety glasses. Understanding the difference between a 20-tooth chainsaw-style blade and a 36-tooth circular blade helps you choose the right tool for the job. If you are unsure about compatibility, our guide on blade interchangeability explains how to check fitment before purchasing.


The process begins with identifying the correct blade for your specific cutting task. A 20-tooth blade is better for dense brush, while a 36-tooth blade offers a cleaner cut for lighter vegetation. Ensure the new blade is rated for at least 10,000 RPM to match the capabilities of most standard brush cutters. Check the arbor size, which is typically 1 inch or 20 mm for most straight-shaft models. This measurement must match the hole in the center of the blade exactly.
| Blade Type | Teeth Count | Best For | Arbor Size |
|---|---|---|---|
| Chainsaw Tooth | 20T | Dense brush, small trees | 1 inch / 20 mm |
| Circular Fine Cut | 36T | Thick grass, shrubs | 1 inch / 20 mm |
| Circular High Speed | 80T | Light trimming, weeds | 1 inch / 20 mm |
Before removing the old blade, gather your tools and safety gear. You will need a socket wrench or the specific hex keys provided in the adapter kit. Safety glasses are mandatory to protect your eyes from debris. Wear sturdy gloves to protect your hands from sharp edges. Ensure the work area is clear of obstacles and bystanders. This preparation prevents accidents and makes the installation smoother.
- Disconnect the spark plug wire to ensure the engine cannot start.
- Secure the shaft in a vise with soft jaws to prevent damage.
- Gather the adapter kit, washers, and nuts for the new blade.
- Put on safety glasses and heavy-duty work gloves.
- Clear the workspace of tools and potential hazards.
Removing the Old Blade and Hardware
Locate the center bolt that holds the blade to the shaft. Use the appropriate wrench to loosen the nut, turning it counter-clockwise. If the bolt is stuck, apply penetrating oil and wait a few minutes before trying again. Once loose, remove the nut, washer, and the old blade. Inspect the shaft for any signs of wear or damage. Clean any debris from the arbor to ensure a clean fit for the new blade.
Check the old adapter if your machine uses one. Some blades require a specific adapter to fit the shaft correctly. If the adapter is worn or damaged, replace it with a new one from the kit. Do not force the blade off if it is stuck; use a gentle tapping motion with a rubber mallet. This prevents bending the shaft or damaging the threads. Keep the old hardware in a separate bag in case you need to reference it later.
Installing the New Blade and Adapter
Place the new blade on the shaft, ensuring the teeth point in the direction of rotation. Most brush cutters rotate clockwise when viewed from the handle. If the blade is installed backward, it will not cut effectively and can damage the machine. Align the center hole with the arbor and slide it on. If using an adapter, ensure it sits flat against the shaft and the blade.
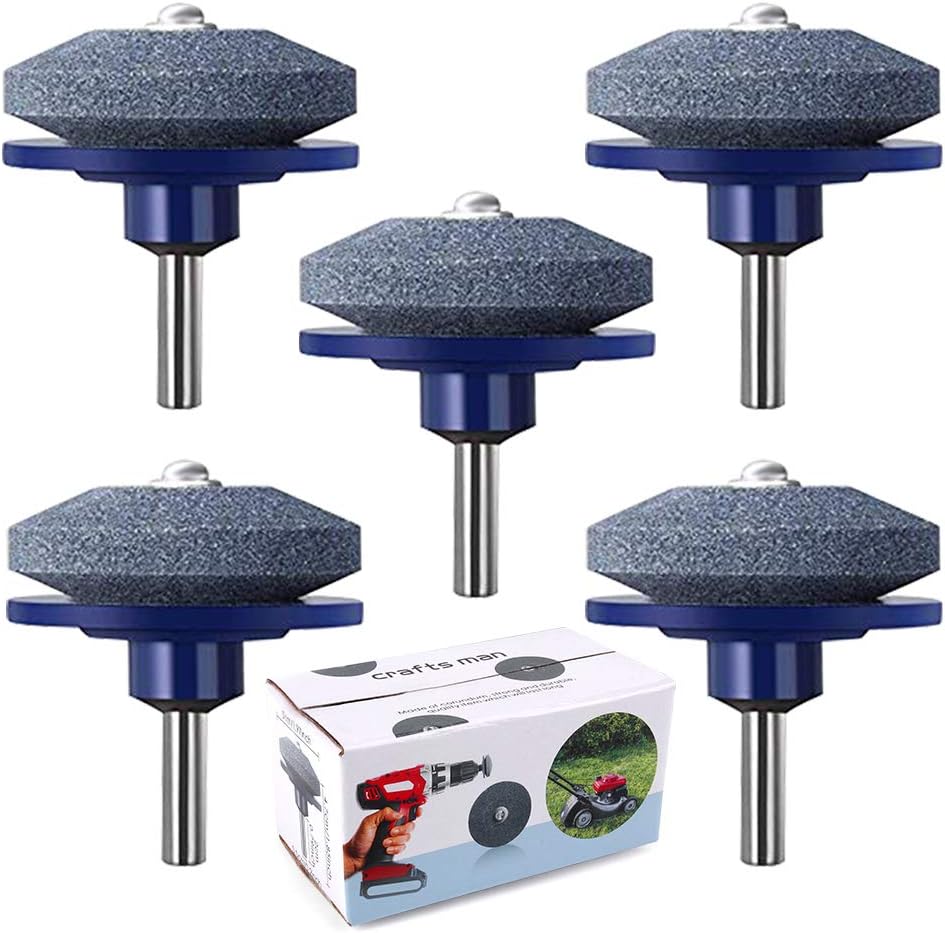
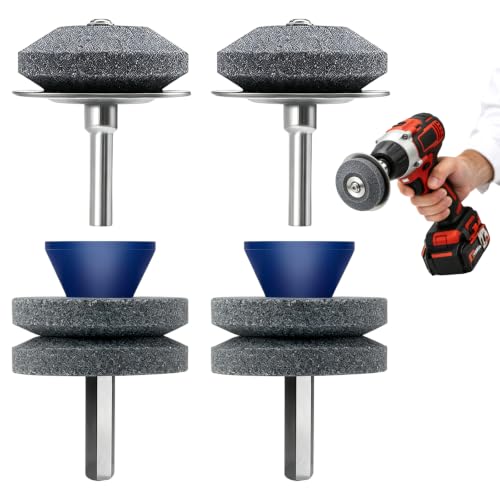
Add the thrust washer and rider plate if your kit includes them. These components help distribute the load and prevent the blade from rubbing against the gear case. Tighten the collar nut by hand first to ensure it threads correctly. Then, use the wrench to tighten the nut securely. Do not overtighten, as this can strip the threads or warp the blade. A snug fit is sufficient to keep the blade stable during operation.
Checking Fit and Balancing the Blade
After installation, spin the blade by hand to check for any wobble. If the blade is unbalanced, it will vibrate excessively during use, which can damage the bearings. You can balance the blade by placing it on a nail or a balancer tool. If one side dips, file a small amount of material from the heavier side. Repeat this process until the blade sits level. This step is crucial for extending the life of your brush cutter.
Verify that the blade clears the gear case and the shaft housing. There should be a small gap to prevent contact during operation. If the blade hits the housing, it may need to be repositioned or a different adapter used. Check the clearance at multiple points around the blade. If you are unsure about the fit, consult the manufacturer’s manual for your specific model. Proper clearance ensures safe and efficient cutting performance.
Final Safety Checks and Test Run
Reconnect the spark plug wire and ensure all tools are removed from the area. Start the engine and let it idle for a few seconds. Listen for any unusual noises or vibrations. If the blade is installed correctly, it should run smoothly without excessive shaking. Stop the engine and inspect the blade again if you notice any issues. Make sure the nut is still tight after the initial run.
Take a short test cut in a safe area to verify the blade’s performance. Observe how the blade handles the vegetation and check for any signs of stress. If the blade cuts smoothly and the machine runs quietly, you are ready for full use. If you experience any problems, shut down the machine and recheck the installation. For more tips on maintaining your equipment, see our guide on blade setup tools.
Common Mistakes to Avoid During Installation
One common error is installing the blade in the wrong direction. Always check the arrow on the blade or the shaft to confirm the rotation direction. Another mistake is using the wrong adapter size, which can lead to a loose fit. Ensure the adapter matches the arbor size and the blade hole diameter. Do not skip the balancing step, as an unbalanced blade can cause serious damage to the machine.
Ignoring safety gear is another frequent oversight. Always wear safety glasses and gloves when handling blades. The edges are sharp and can cause serious cuts. Also, do not use a cracked or bent blade. Inspect the new blade for any defects before installation. If you find any damage, replace the blade immediately. Using a damaged blade is dangerous and can lead to equipment failure.
- Never install a blade while the engine is running.
- Do not use a blade that is cracked or bent.
- Avoid overtightening the center nut, which can strip threads.
- Always check the rotation direction before starting the engine.
- Do not skip the balancing step to save time.
Choosing the Right Blade for Your Task
The type of blade you choose depends on the vegetation you are cutting. A 20-tooth chainsaw-style blade is ideal for dense brush and small trees. It has aggressive teeth that can chew through tough material. A 36-tooth circular blade offers a smoother cut for thick grass and shrubs. It is a good all-around option for general maintenance. An 80-tooth blade is best for light trimming and weeds, providing a very clean cut.
Consider the material of the blade as well. Carbide-tipped blades are more durable and last longer than standard steel blades. They are a good investment if you use your brush cutter frequently. Carbon steel blades are more affordable but may need sharpening more often. Choose a blade that fits your usage pattern and the type of vegetation in your area. This ensures you get the best performance from your equipment.
Maintenance Tips for Long-Lasting Blades
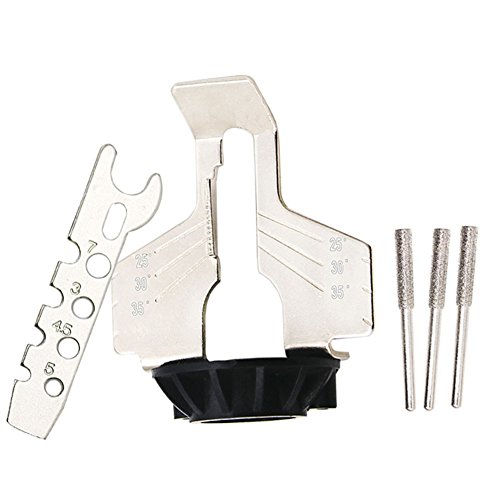
Regular maintenance extends the life of your brush cutter blades. Clean the blade after each use to remove sap and debris. Use a brush or a rag to wipe down the surface. Check the blade for any signs of wear or damage. Sharpen the teeth if they become dull, using a file or a sharpening tool. Keep the blade dry to prevent rust, especially if you store it outdoors.
Store the blade in a dry place, away from moisture. You can apply a light coat of oil to the blade to protect it from corrosion. Inspect the adapter and hardware regularly for wear. Replace any worn parts to ensure a secure fit. Proper storage and maintenance help keep your blade in good condition for the next season. This simple care can save you money on replacements.
Always follow the manufacturer’s safety guidelines when using your brush cutter. Wear appropriate protective clothing, including safety glasses and ear protection. Keep your hands and feet clear of the blade during operation. If you are new to using a brush cutter, practice in a safe area before tackling tough jobs. By following these steps, you can change your blade safely and efficiently, ensuring your equipment remains in top working order.





Write Your Review
No reviews yet. Be the first to share your experience!