


Replacing the cutting edge on a Kubota zero-turn mower requires disconnecting the battery, removing the old blade, and installing a new one with the correct torque. This process ensures the deck spins freely and cuts evenly without damaging the spindle. The how to change blades on kubota zero turn mower procedure relies on matching the specific OEM part number to the deck size and configuration.
Many homeowners find that the blade is rusted or bent, making removal difficult. You must use the right tools to avoid stripping the bolt or damaging the spindle. Checking the center hole geometry and outer hole pattern is critical before ordering a replacement. If you are unsure about the fit, our mower blade interchangeability guide explains why exact model matching is necessary for safe operation.

Pros
- Robust 0.236-inch steel thickness provides solid durability against hidden roots and small rocks
- Mulching teeth chop clippings fine enough to eliminate windrows and bag cleanup
- Clean fit on Kubota RCK60RP-1500Z deck spindles without requiring modifications
- Balanced well right out of the box for smooth, vibration-free spindle rotation
Cons
- Mulching design creates higher deck resistance in overgrown, wet turf compared to standard discharge blades
- Total 10-pound set weight requires adequate impact torque or leverage during bolt tightening
- Green finish wears off cutting surfaces immediately upon first yard pass
The 8TEN LawnRAZOR mulching blade set is a purpose-built aftermarket replacement designed specifically for Kubota zero-turn mowers equipped with 60-inch decks, such as the RCK60RP-1500Z deck on the ZD1511RL. Built to replace OEM part number K5647-92340, this three-blade set addresses the demands of aggressive mowing schedules where factory blades quickly wear down or dull.
This kit fits commercial operators, rural property owners, and groundskeepers who manage several acres and want to eliminate turf clumping without bagging. The rolled foil design provides sufficient lift to pull turf upright for a crisp, even level cut, while the serrated mulching fins keep clippings suspended inside the deck chamber until they are chopped into fine, nutrient-rich mulch.
Durability is a major strong point. At 0.236 inches thick, these blades have noticeable heft that holds up well against hidden roots, hard dirt mounds, and small stones. The 1-1/8-inch circular center hole matches factory Kubota spindle specs, allowing you to torque them down cleanly on your maintenance lift or jack stands without fitment slop that could trigger high-speed spindle vibration.
As with most mulching setups, cutting very tall, damp grass will require slowing your ground speed to avoid bogging down the deck baffles. However, for regular weekly property maintenance, leaf shredding in autumn, and standard lawn care, this 8TEN 3-pack delivers dependable cutting power and long blade life at a fraction of dealership prices.
Part Compatibility: Replaces Kubota OEM K5647-92340
Deck Fitment: Kubota RCK60RP-1500Z (ZD1511RL) 60-inch decks
Blade Dimensions: Length: 20-1/2 inches; Width: 2-1/2 inches
Center Hole: 1-1/8-inch circle
Steel Thickness: 0.236 inches
Blade Profile: Rolled foil mulching blade
Package Quantity: 3 matched blades
Pros
- Precision fit ensures seamless compatibility with Kubota Z122R models
- Durable steel construction resists bending, chipping, and dulling even in tough grass
- Easy installation with basic tools, perfect for DIY homeowners
- Affordable price point compared to OEM replacements
- Good for residential lawn care and light commercial use
Cons
- Only compatible with Kubota Z122R 42" zero turn mowers, limiting versatility
- No user reviews yet to confirm long-term durability in heavy-duty conditions
- May not match OEM blade performance in extreme commercial applications
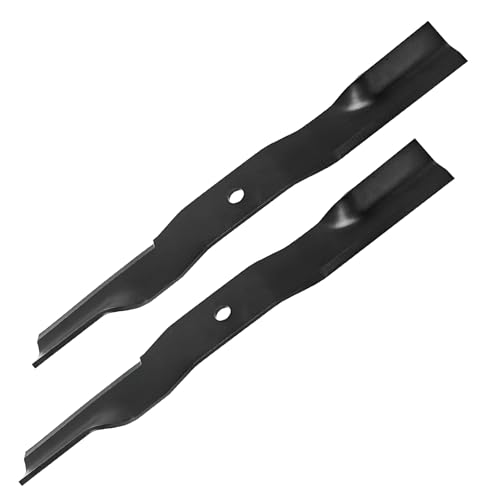
If you own a Kubota Z122R 42-inch zero turn mower and need replacement blades, the Earthtec K5559-34330 set is a solid aftermarket option worth considering. These blades are designed to directly replace the OEM part number K5559-34330, so you can swap them in without any hassle. They come as a pair, giving you everything needed for a full blade change on your mower deck.
These blades are best suited for homeowners and DIY landscapers who maintain their own property. The high-strength steel construction gives them good impact resistance, which helps when you hit the occasional rock or hidden branch. The added thickness and width compared to standard blades means they stay sharp longer and hold up better over time. For typical residential mowing with grass, weeds, and light debris, they should perform reliably.
Installation is straightforward. Just lift the mower safely, remove the old blades, and bolt these on. The fit is precise for the Z122R deck, so no filing or drilling is needed. The blades balance well and cut cleanly, giving a nice even finish on your lawn. While they aren't marketed as commercial-grade, they feel sturdy enough for regular weekly mowing on a few acres.
One realistic drawback is that these blades are only compatible with the Kubota Z122R model. If you have a different zero turn mower, you will need to look for a different part. Also, since there are no user reviews yet, we can't fully vouch for their long-term durability in heavy commercial use. But given the materials and build, they should handle typical homeowner demands well.
Overall, the Earthtec K5559-34330 blades are a practical and budget-friendly choice for Kubota Z122R owners. They offer easy installation, good durability, and a clean cut. If you are looking for a reliable replacement without paying OEM prices, these are worth picking up.
The primary goal is to replace the worn blade with a new one that matches the deck specifications exactly. Kubota zero-turn mowers typically use a single or dual-blade setup, depending on the deck width. You must identify the correct blade length and thickness before starting. The process involves safety preparation, blade removal, hardware inspection, and final installation.
| Component | Typical Spec for Kubota ZT | Check Method |
|---|---|---|
| Blade Length | 18 to 20.5 inches | Measure tip to tip |
| Center Hole | 1.125 inches circle | Compare with old blade |
| Bolt Type | 1/2 inch or 5/8 inch | Check existing hardware |
| Washer | Flat or locking | Inspect for damage |
Before touching the blade, you must ensure the mower is in a safe state. The engine must be off, and the key removed. The battery cable must be disconnected to prevent accidental starting. This step is non-negotiable for personal safety. A blade can spin at high speeds if the ignition is bypassed or if the battery is still connected.
- Disconnect the negative battery cable to prevent accidental startup
- Place the mower on a flat, stable surface
- Remove the spark plug wire to add a safety layer
- Locate the blade bolt and washer on the underside of the deck
- Identify the blade orientation and mounting pattern
Removing the Old Blade and Hardware
The blade bolt is often rusted tight due to grass clippings and moisture. You may need a penetrating oil to loosen the threads. Use a socket wrench that fits the bolt head exactly. Turning the bolt counter-clockwise removes it. If the bolt is stuck, do not use excessive force that could bend the spindle.
Once the bolt is removed, take off the washer and the blade. Note the direction the blade was facing. Most Kubota blades have a specific orientation relative to the deck. The cutting edge should face the direction of travel. Mark the blade position if you are unsure. This helps with correct reinstallation and ensures the deck balances properly.
Inspect the old blade for cracks, bends, or excessive wear. A cracked blade must be discarded immediately. A bent blade can cause vibration and damage the spindle bearings. If the blade is just dull, it can be sharpened, but replacement is often easier. Check the bolt threads for damage. If the threads are stripped, you may need a new bolt or a thread repair kit.
Preparing the New Blade for Installation
Before installing the new blade, clean the spindle area on the deck. Remove grass clippings, dirt, and rust. A clean surface ensures the blade sits flat and true. Check the spindle for any signs of damage or wear. If the spindle is bent, it must be replaced before installing a new blade. A bent spindle will cause severe vibration during mowing.
Compare the new blade to the old one. The center hole size must match the spindle diameter. The outer holes, if present, must align with the deck mounting points. The blade thickness should be similar to the original. Using a blade that is too thin can cause it to flex and break. Using a blade that is too thick may not fit the bolt correctly. The manufacturer lists specific compatibility for each model.
If the new blade comes with a new bolt and washer, use them. Old bolts can stretch or strip over time. A new bolt ensures proper clamping force. If you are reusing the old bolt, check it for wear. The threads should be clean and undamaged. The washer should be flat and free of rust. A damaged washer can cause the blade to come loose during operation.
Installing the Blade with Correct Torque
Place the new blade on the spindle. Ensure it is oriented correctly. The cutting edge should face the direction of travel. Slide the bolt through the center hole. Add the washer between the bolt head and the blade. Tighten the bolt by hand first to ensure it threads in correctly. Do not cross-thread the bolt, as this can damage the spindle threads.
Use a torque wrench to tighten the bolt to the manufacturer’s specification. Kubota typically recommends a specific torque value for the blade bolt. Over-tightening can strip the threads or bend the blade. Under-tightening can cause the blade to loosen and fly off. If you do not have a torque wrench, tighten the bolt firmly and then re-check after the first mowing session. The blade should not move when you try to turn it by hand.
For dual-blade decks, install both blades before tightening the bolts. This ensures the deck is balanced. One blade may be reversed compared to the other. Check the orientation of each blade. They should be symmetrical to prevent vibration. Tighten both bolts to the same torque specification. A balanced deck reduces wear on the mower’s drivetrain and provides a cleaner cut.
Verifying Fit and Safety Checks
After installation, spin the blade by hand to check for clearance. It should rotate freely without hitting the deck or any other component. If it rubs, the blade is not seated correctly. Remove the bolt and re-seat the blade. Ensure the washer is in the correct position. The blade should sit flat against the deck surface. Any gap can cause vibration and uneven cutting.
Reconnect the battery and start the mower. Run the engine at idle for a few minutes. Listen for any unusual noises or vibrations. If the mower vibrates, stop immediately and re-check the blade installation. A loose blade is a serious safety hazard. It can break off and cause injury. Always wear safety glasses and gloves when working around mower blades.
Check the cutting performance after the first mow. The grass should be cut evenly without leaving strips. If the cut is uneven, the blade may be bent or the deck may be out of level. Adjust the deck height if necessary. If the problem persists, the blade may need to be replaced or the deck inspected. Regular maintenance of the blade and deck ensures long-term performance.
Common Mistakes to Avoid During Replacement
One common mistake is using the wrong blade size. Always measure the old blade before ordering a new one. The length, width, and thickness must match. Another mistake is ignoring the center hole geometry. Some blades have a round hole, while others have a square or hexagonal hole. The hole must match the spindle shape exactly. A mismatched hole will not secure the blade properly.
Forgetting to disconnect the battery is a dangerous error. Always follow the safety steps outlined above. Using a damaged bolt or washer is another mistake. These components are cheap and should be replaced if worn. Not checking the torque specification can lead to a loose blade. Finally, ignoring the blade orientation can cause poor cutting performance. Each blade has a specific direction it should face.
- Always disconnect the battery before starting any work
- Measure the old blade to ensure the new one matches
- Check the center hole shape and size for compatibility
- Use a torque wrench to tighten the bolt correctly
- Inspect the blade for cracks or bends before installation
- Verify the blade orientation before tightening the bolt
Matching OEM Part Numbers for Kubota Models
Kubota uses specific part numbers for each blade model. The part number is usually stamped on the blade or listed in the owner’s manual. For example, the K5647-92340 is a common part number for certain Kubota zero-turn mowers. The K5559-34330 is another common part number for 42-inch decks. Always verify the part number before purchasing a replacement. Using the wrong part number can result in a blade that does not fit.
Some aftermarket blades are listed as compatible with multiple Kubota models. Check the compatibility list carefully. The blade length and center hole size must match your specific model. If you are unsure, contact the manufacturer or a Kubota dealer for confirmation. The correct blade ensures optimal cutting performance and safety. An incorrect blade can damage the mower and void the warranty.
Replacement blades are often sold in packs of two or three. This is convenient for dual-blade decks or for having a spare on hand. Check the package quantity before purchasing. Some blades are made of high-carbon steel, which is durable and holds an edge well. Others may have a coating to resist rust. Choose a blade that suits your mowing conditions and maintenance preferences.
Maintenance Tips for Long Blade Life
Regularly clean the underside of the deck after mowing. Grass clippings and moisture can cause rust and corrosion. Use a pressure washer or a stiff brush to remove debris. Apply a light coat of oil to the blade and spindle to prevent rust. Store the mower in a dry place during the off-season. Proper storage extends the life of the blade and other components.
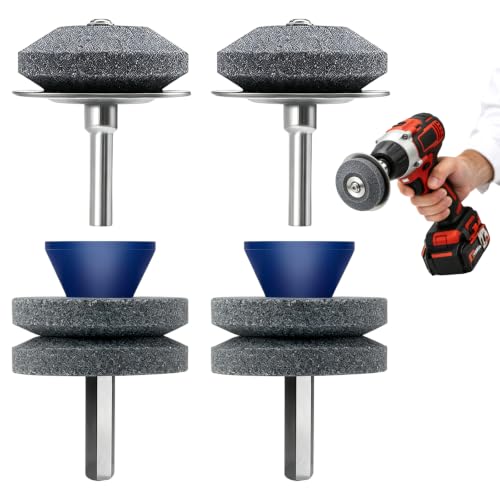
Sharpen the blade at least once a year. A dull blade tears the grass instead of cutting it cleanly. This can lead to a brown, unhealthy lawn. Use a file or a sharpening tool to restore the edge. Maintain the original blade angle. Do not alter the blade geometry, as this can affect balance and cutting performance. A sharp, balanced blade provides the best results.
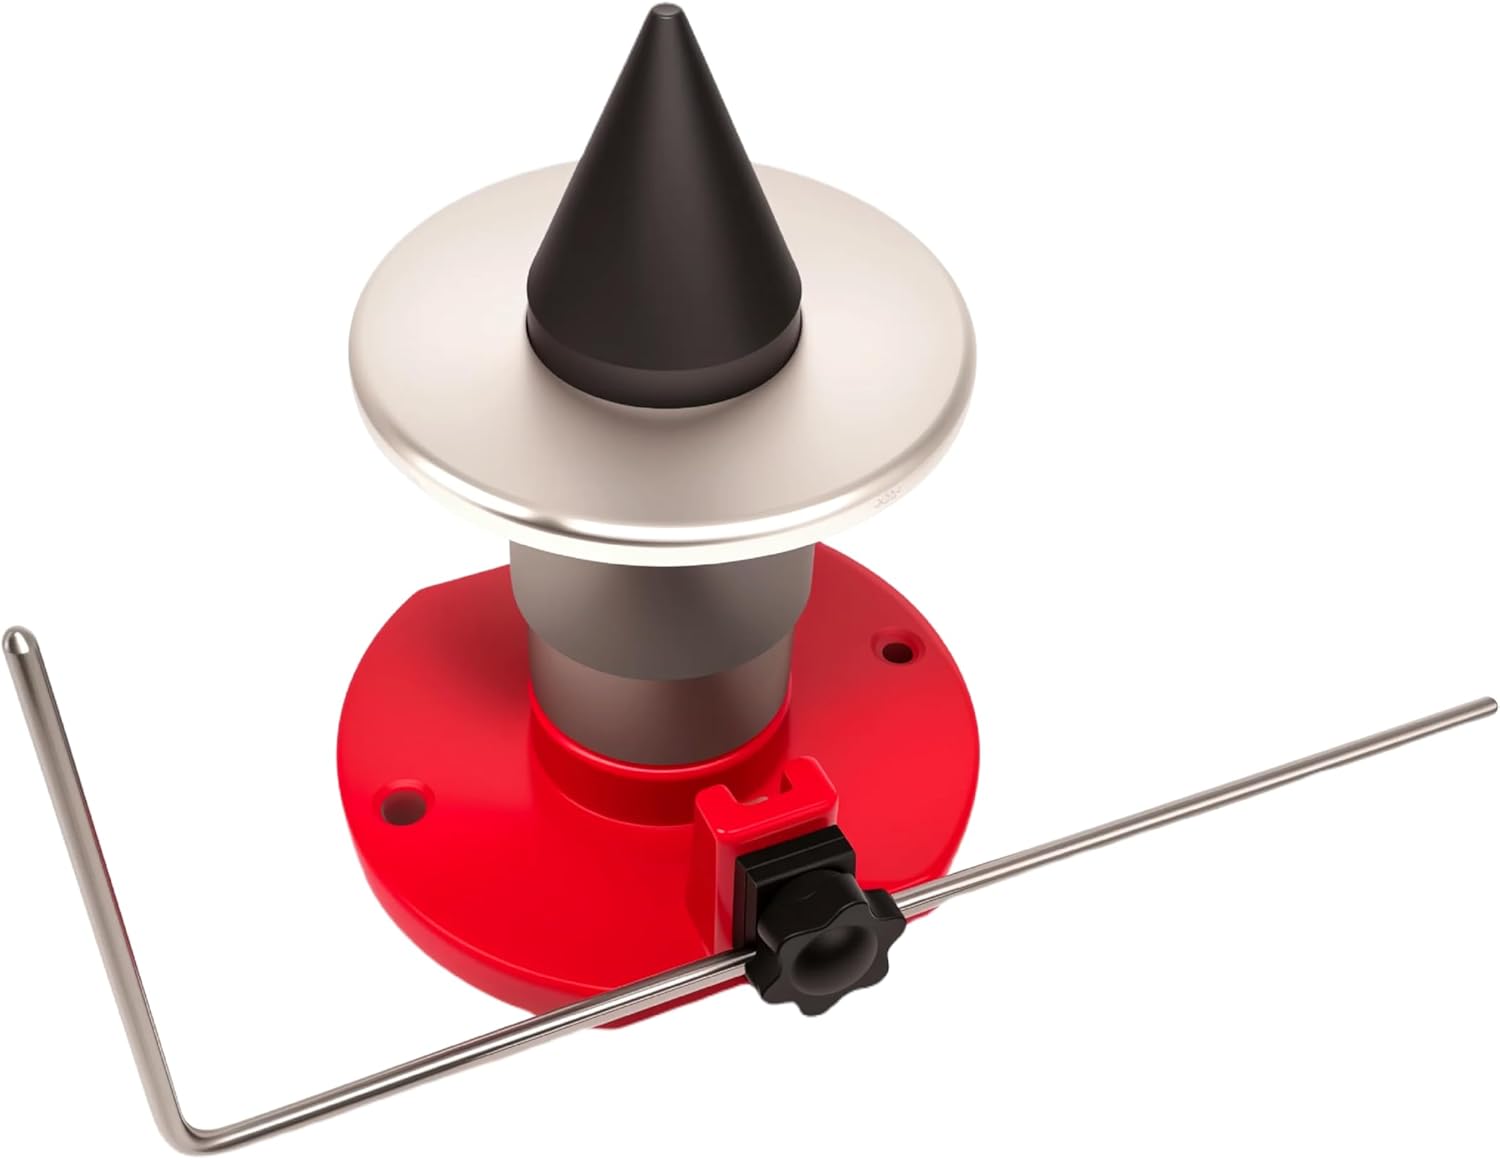
If you are considering different blade types, such as mulching or high-lift blades, ensure they are compatible with your deck. Mulching blades have a different shape and create more lift. They may not work well with a bagging setup. Check the manufacturer’s recommendations for blade type. Using the wrong blade type can reduce mowing efficiency and damage the deck. If you need help choosing the right setup, our mower blade setup tools guide offers practical advice for cleaner cuts.
Changing the blades on your Kubota zero-turn mower is a straightforward task if you follow the safety steps and use the correct parts. Always prioritize safety by disconnecting the battery and using the right tools. Match the blade specifications to your mower model to ensure a proper fit. Regular maintenance and proper installation will keep your mower running smoothly for years.


Write Your Review
No reviews yet. Be the first to share your experience!